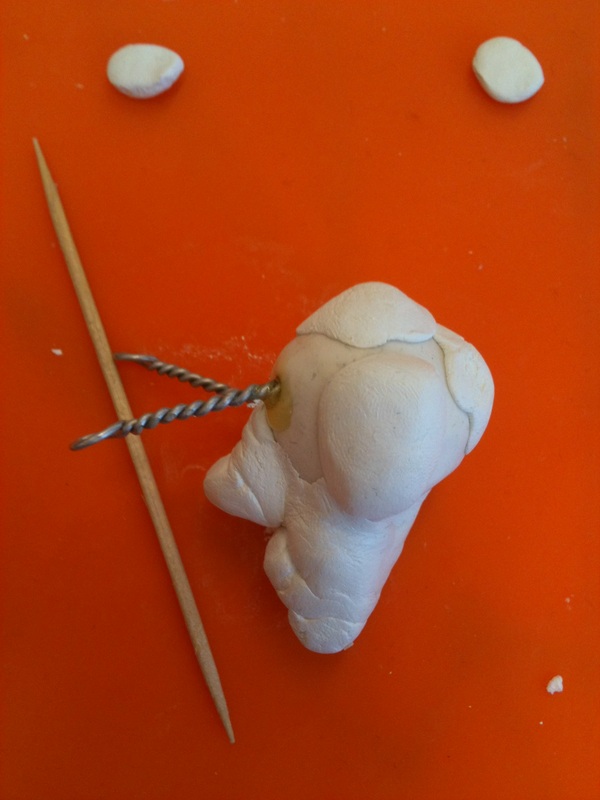
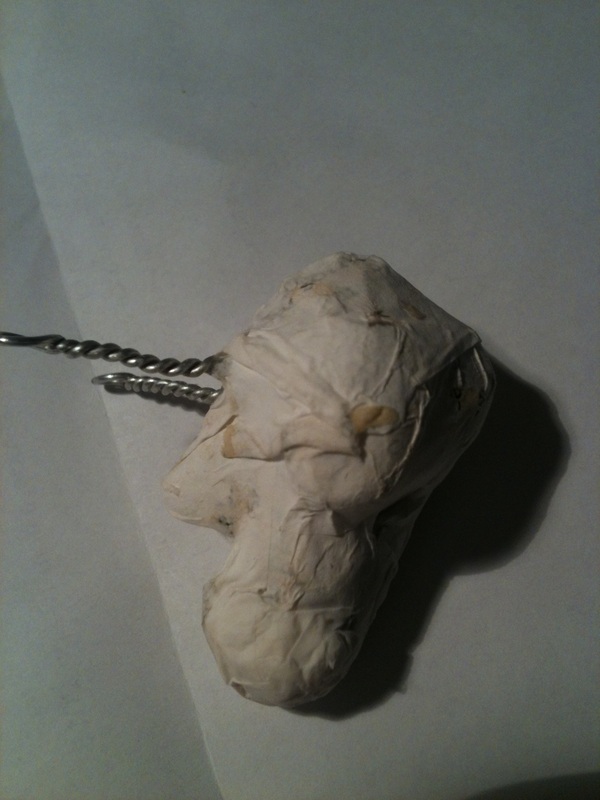
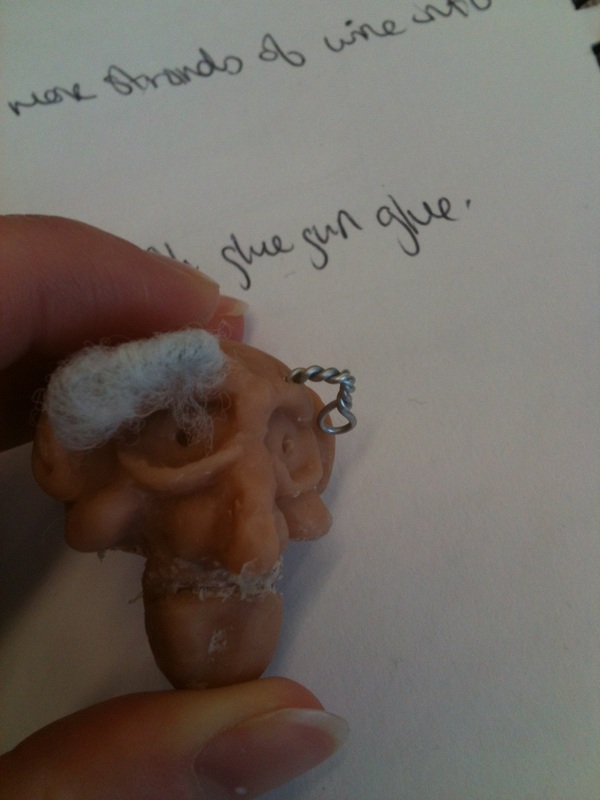
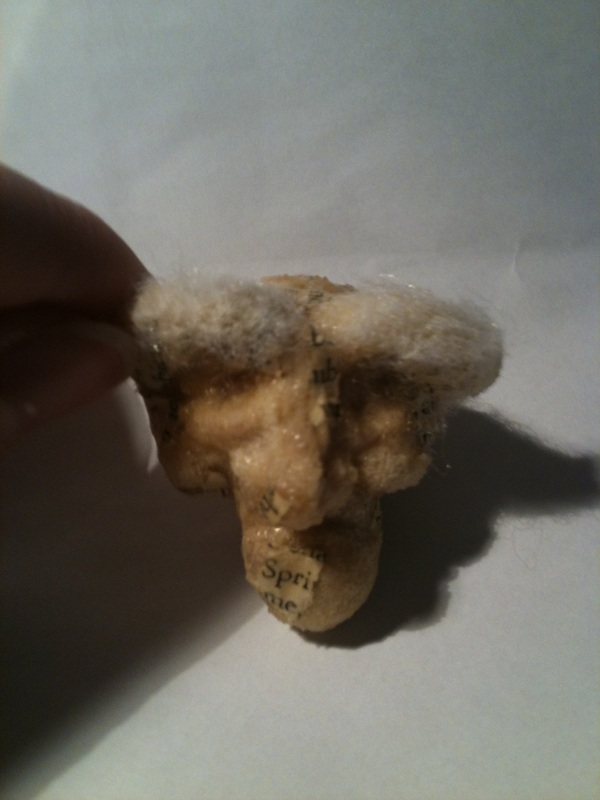
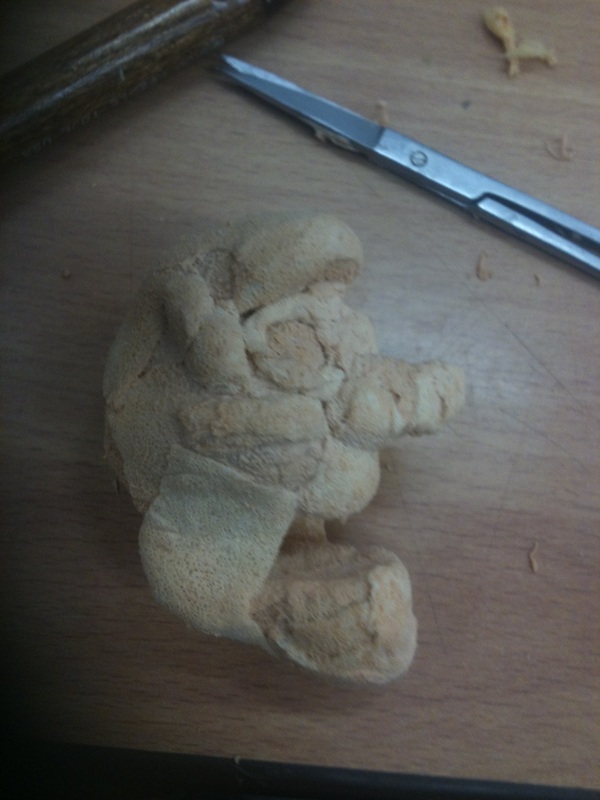
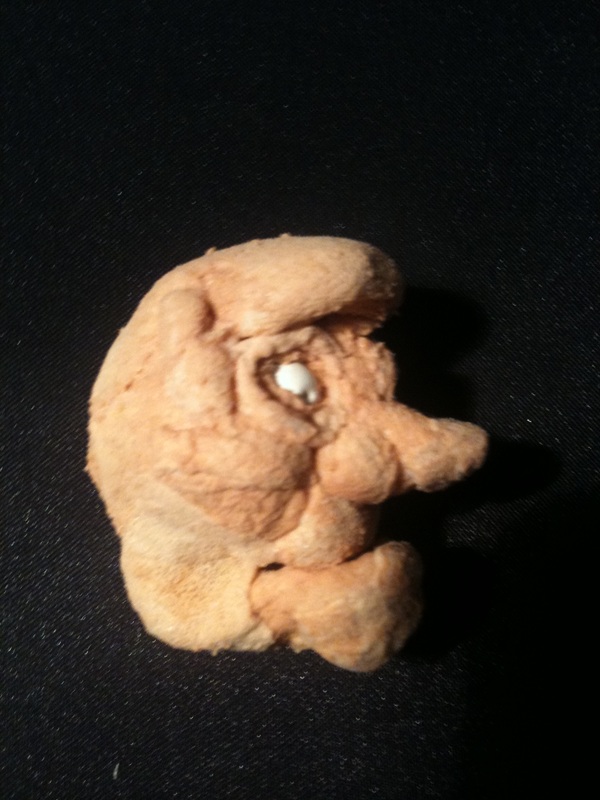
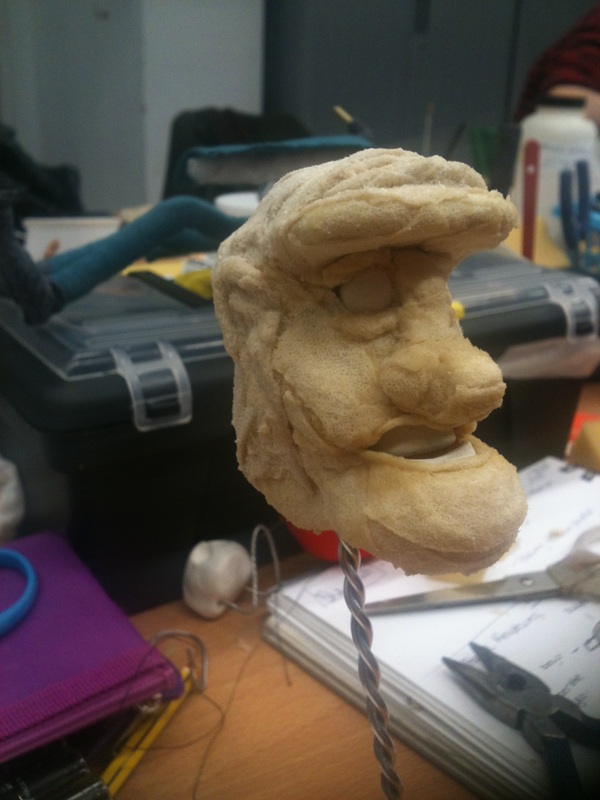
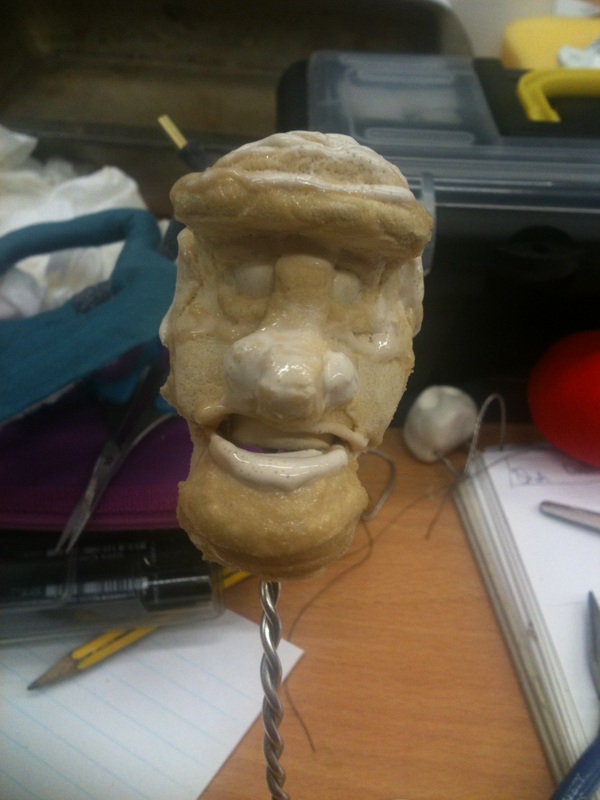
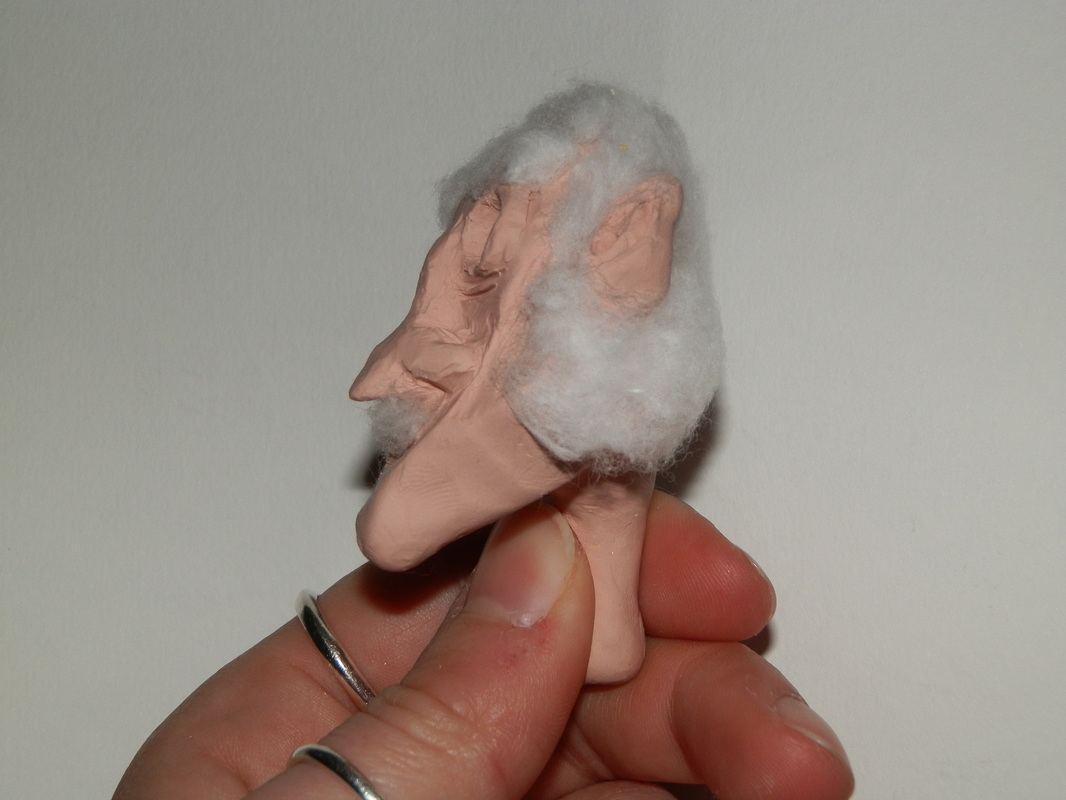
| After my tutorial, it was suggested that I try adding very fine sporting injury foam dipped in latex and applied with spray mount ontop of a sculpey head. Once layered it can look like paper.
Firstly I wound some wadding around the eyebrow armature. I then sprayed a light layer of spray mount over the head and applied the foam with almost dried latex onto this. I used a coctail stick to tease it into the ridges on the face.
| |
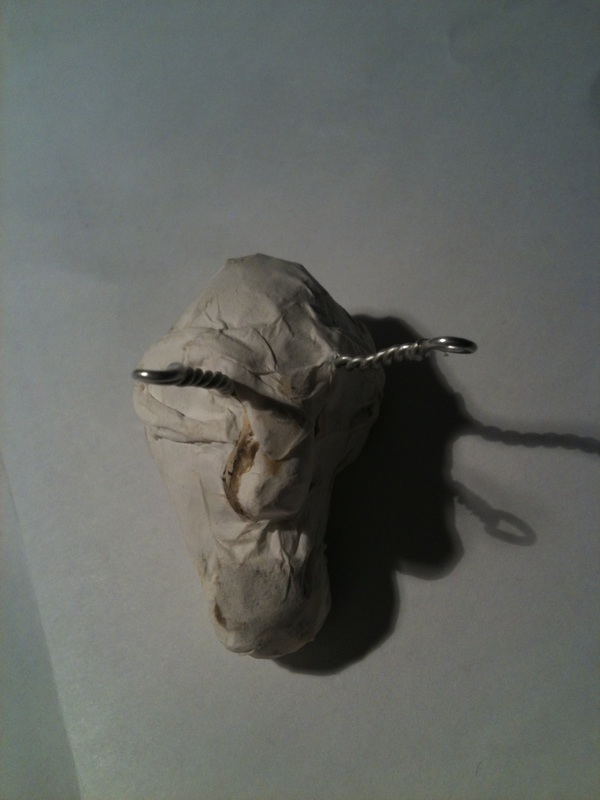
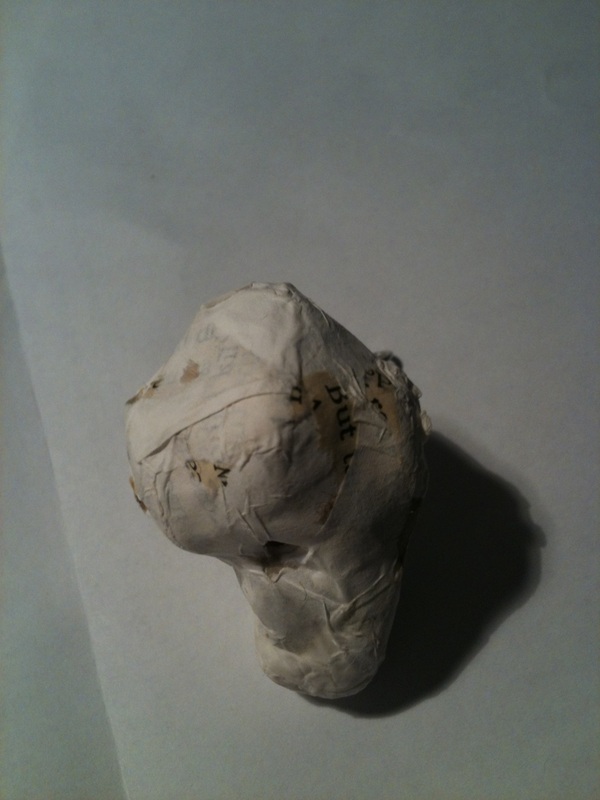
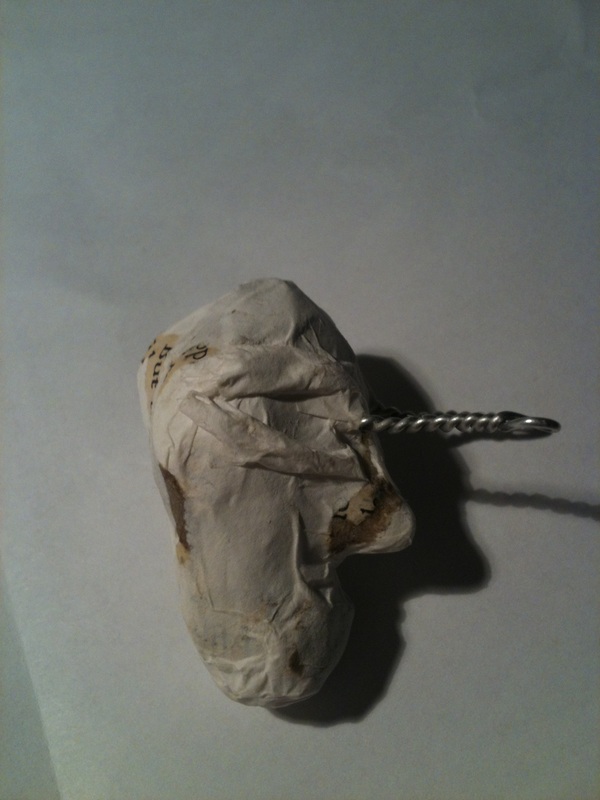
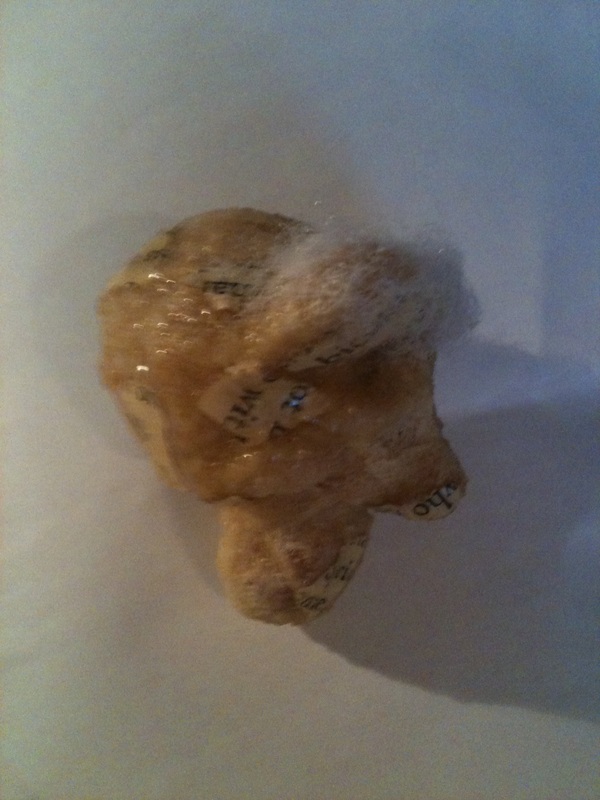
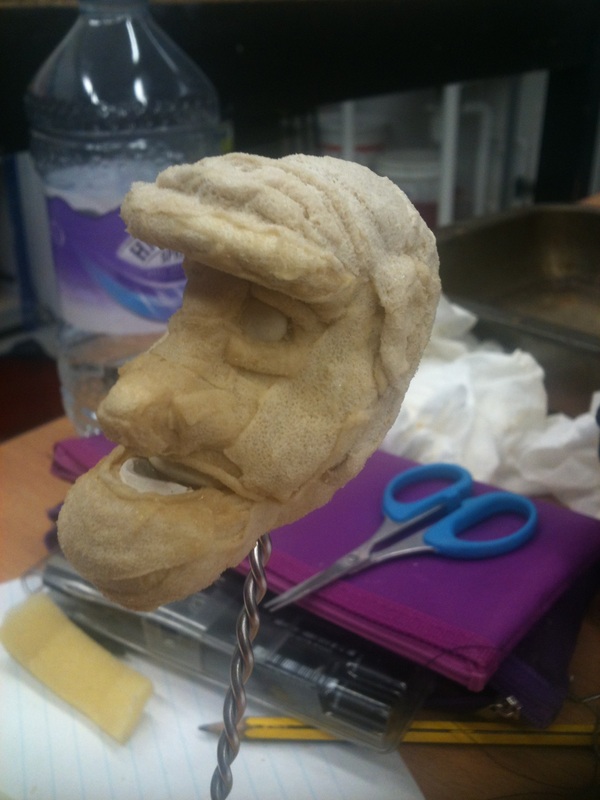
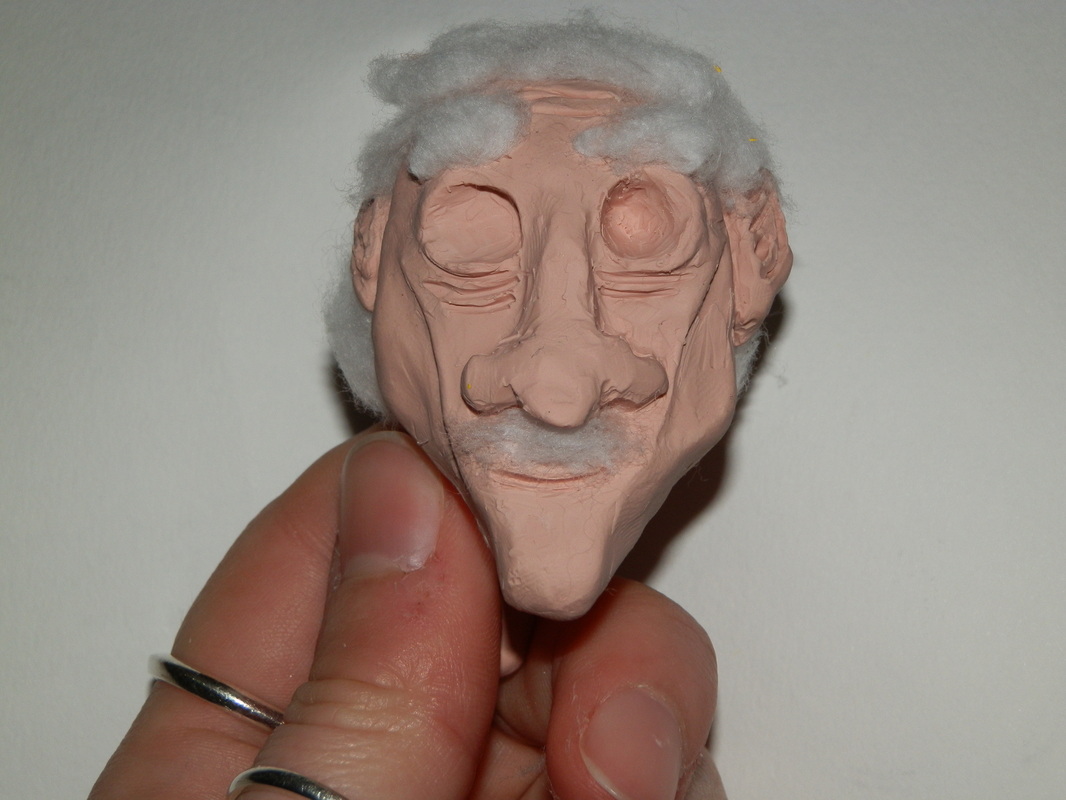
Once I covered the whole head I added bith of ripped up book page onto the surface.
I was surprised at the end result that it did have a papery quality to it. However it was also quite shiney due to the application of the latex so I would like to test this head under camera to see if it does look too shiney.
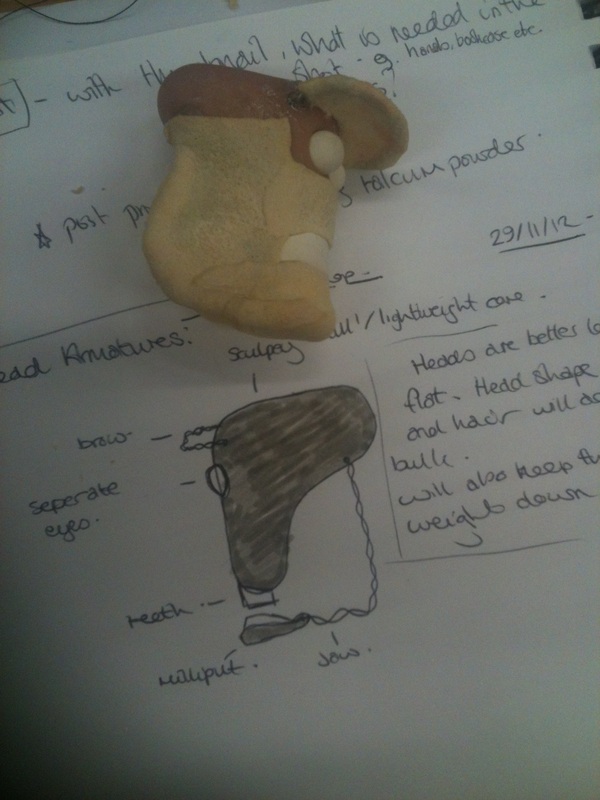
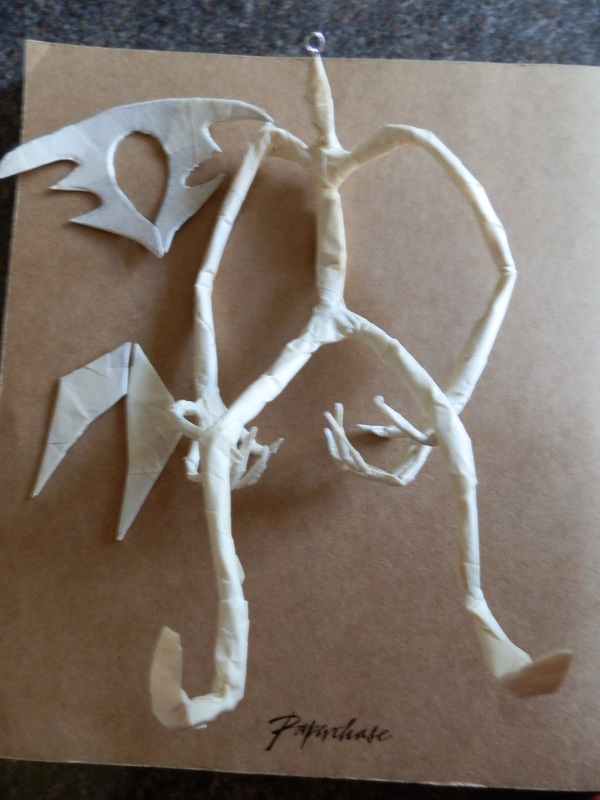
It was suggested to me in a feedback session on my work in progress that I look at making the puppets head out of something like balsa wood or paper mache which will give it a more tactile and angular feel (and will also be extremely lightwight!). I am going to try those particular methods but this got me thinking about other lightweight materials that may work well.
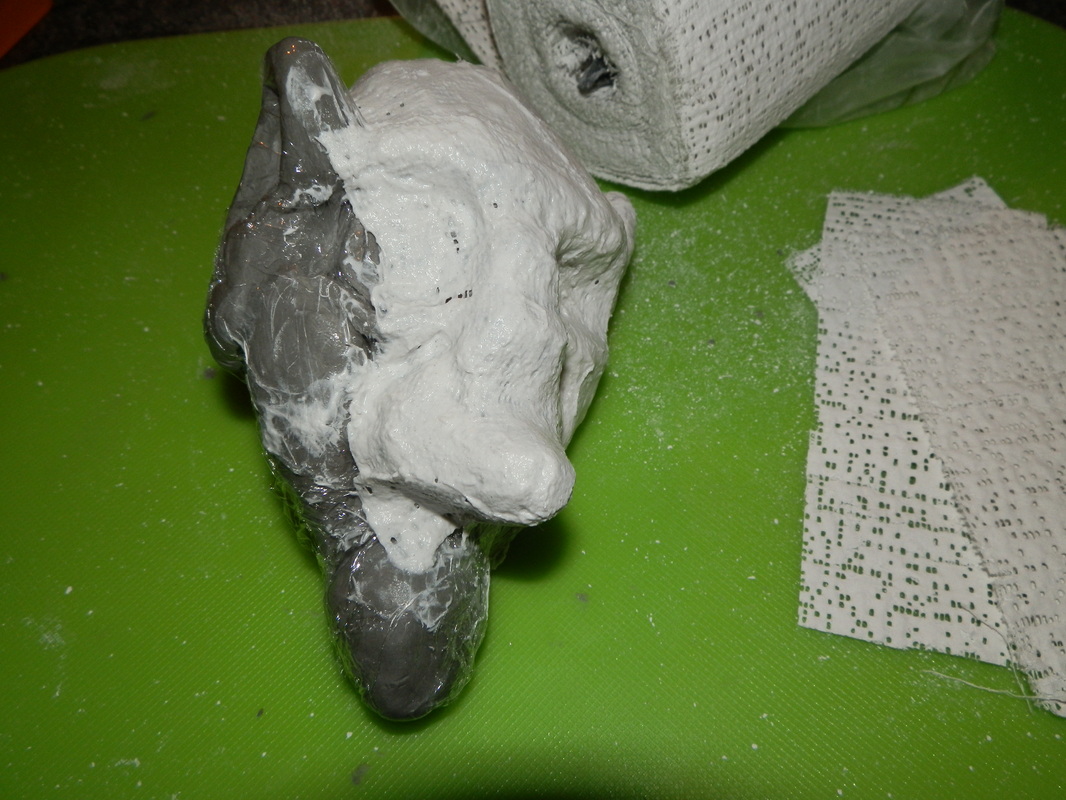
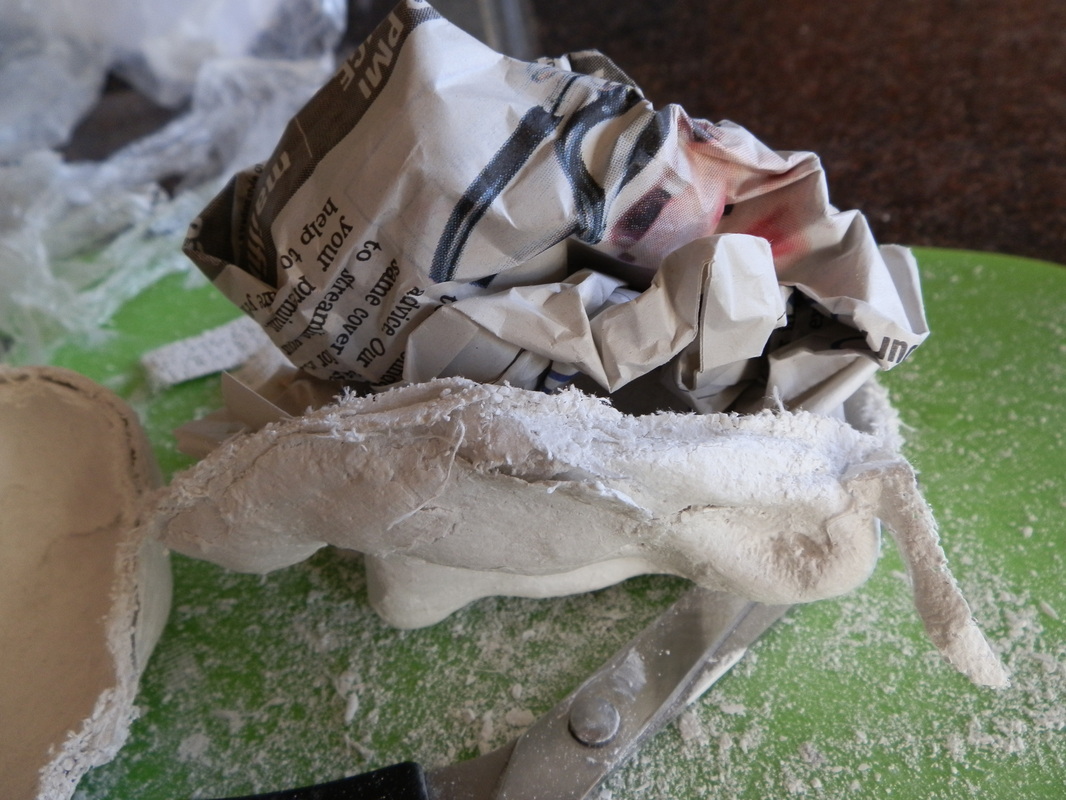
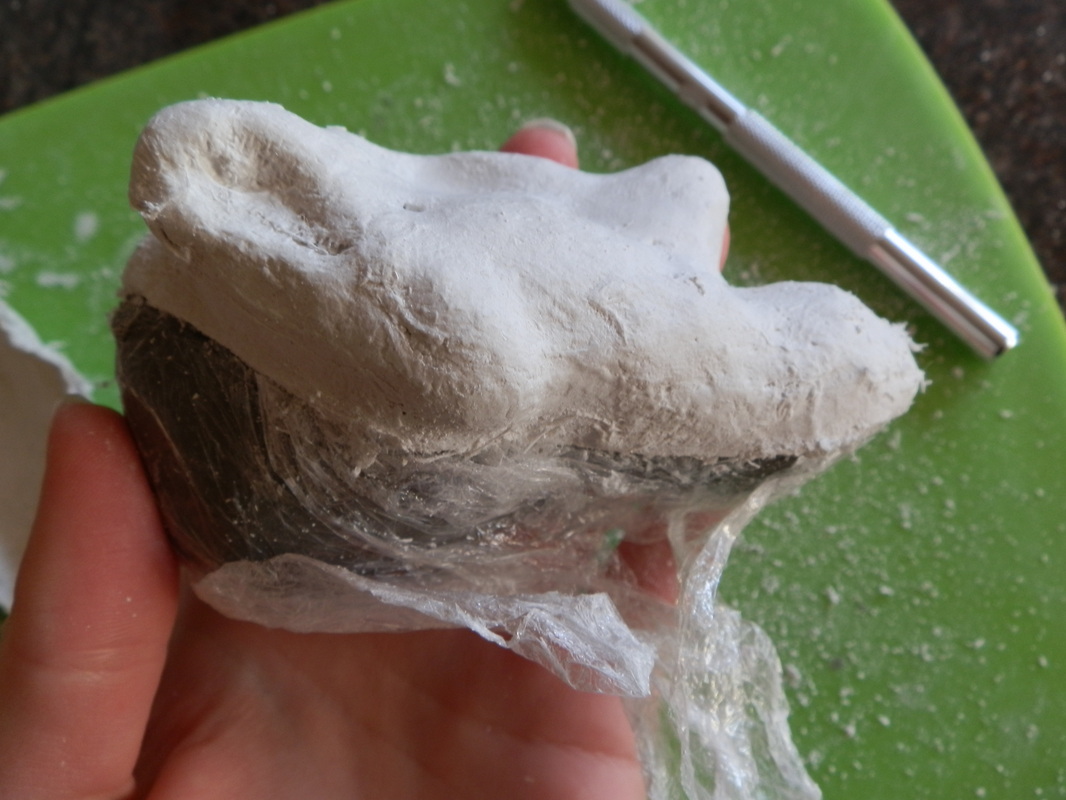
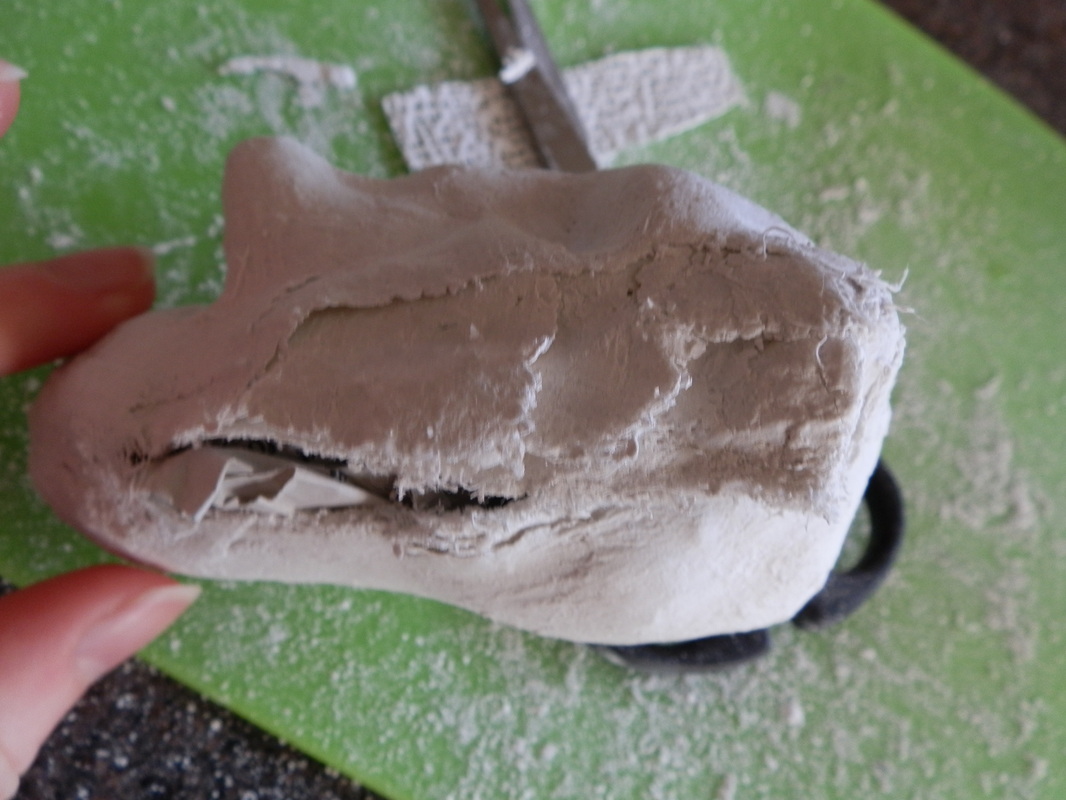
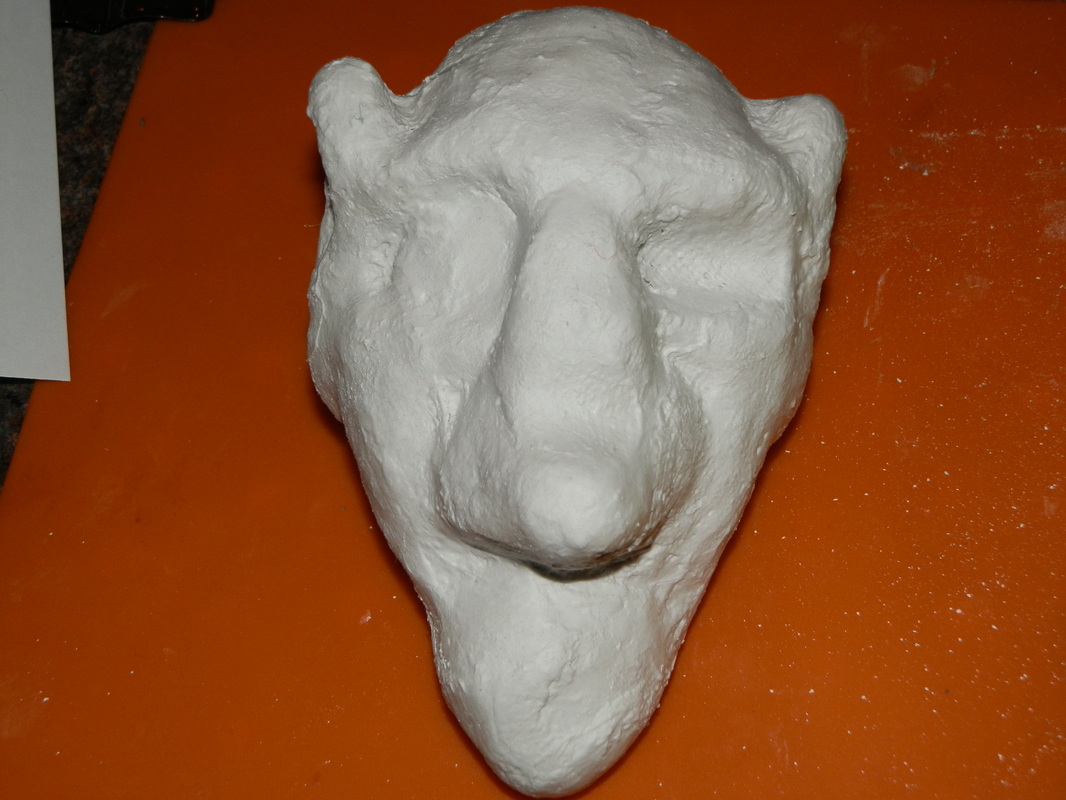
| | I have never used mod roc before but have seen it used in a previous production that I worked on so thought I'd give it a go. Seeming as I had made a sculpt I thought I would apply the mod roc straight onto this (cling film wrapped around the sculpt to protect it), let it set and then cut it open to take the sculpt out then reseal.
|
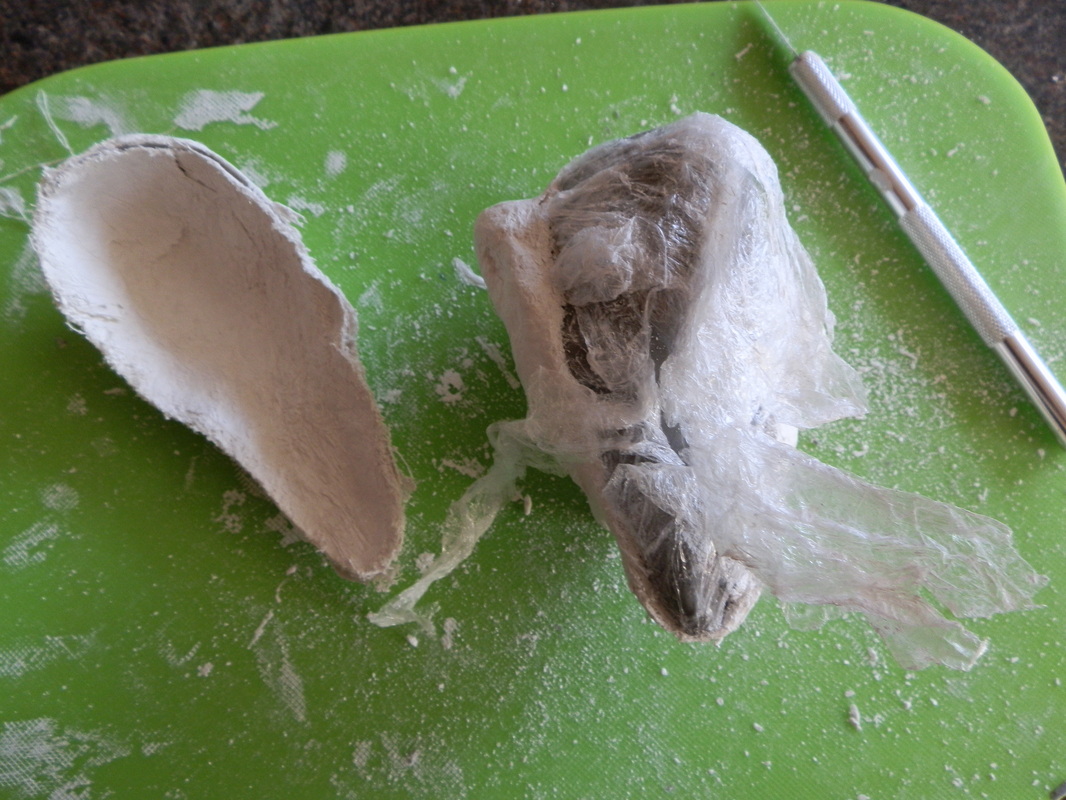
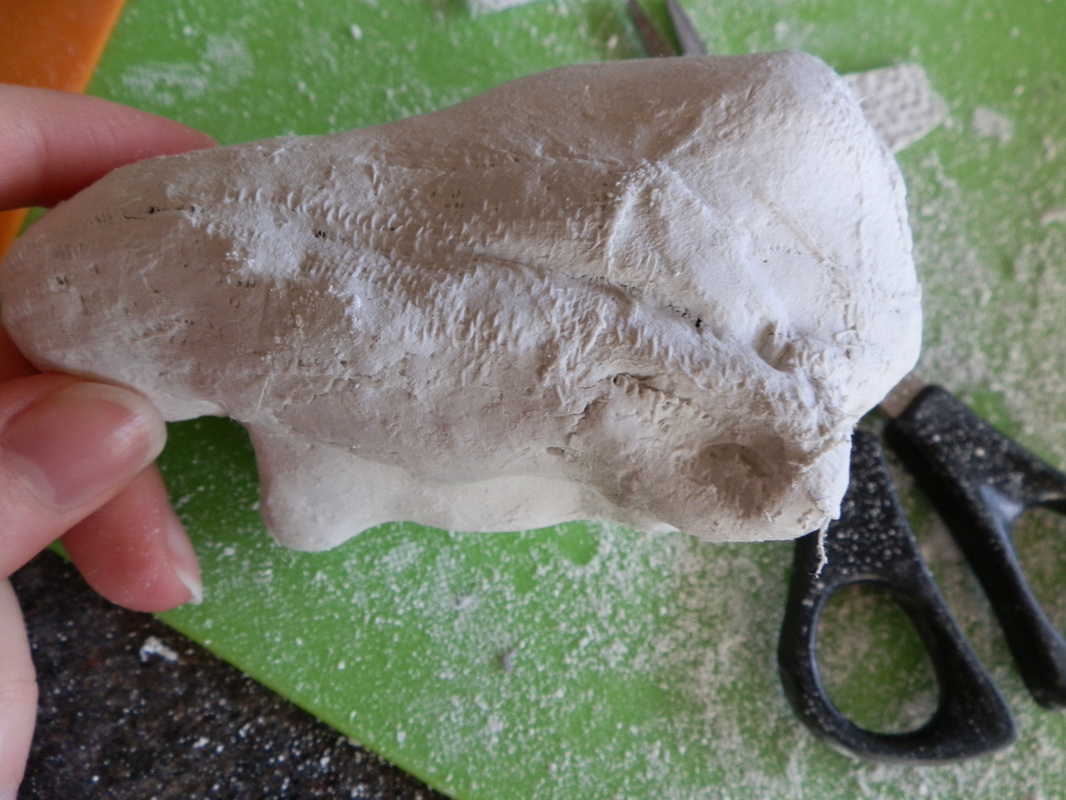
| | Although not great at intricate detail this was an extremely quick process (if you already have a sculpt made) and is extremely lightweight. I am going to build on top of this to make it look like a character so this might solve the problem of lack of detail to begin with so there will be a post again soon of how that goes...
|
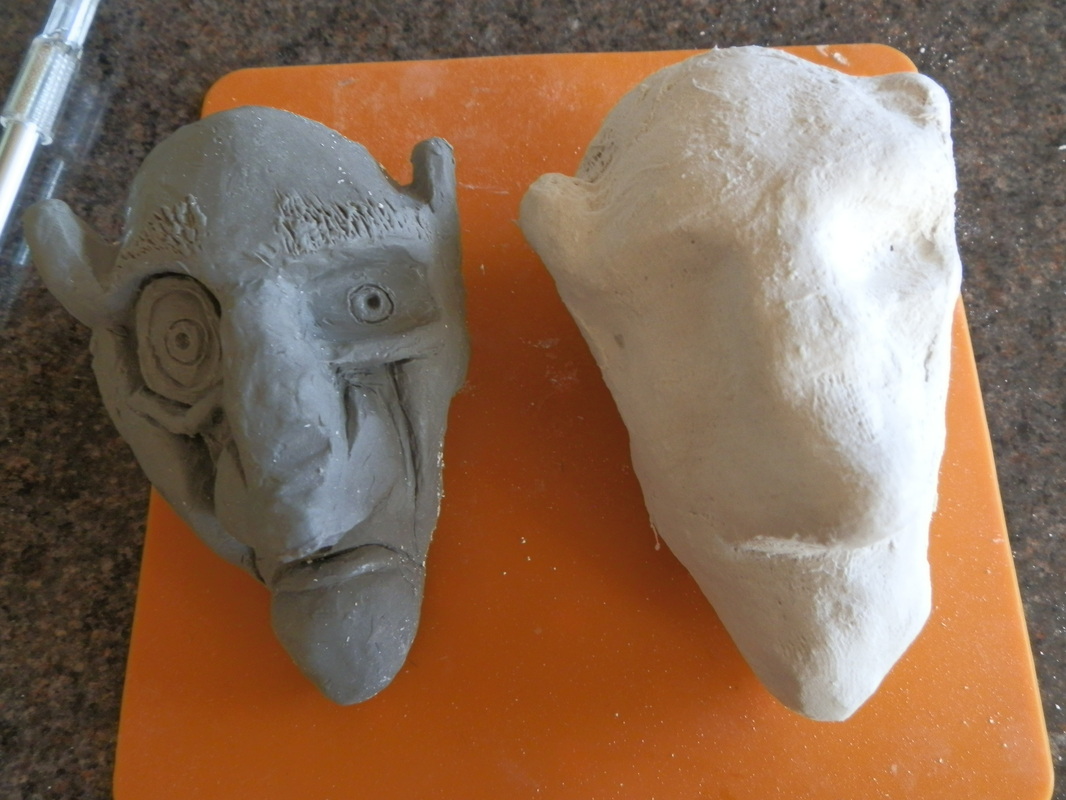
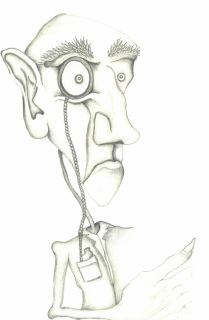
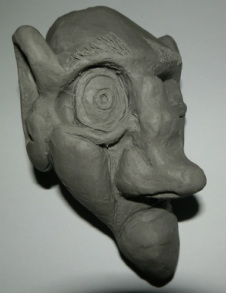
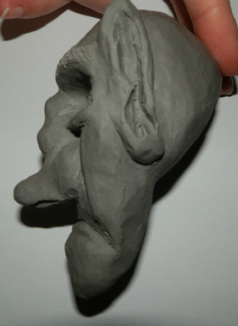
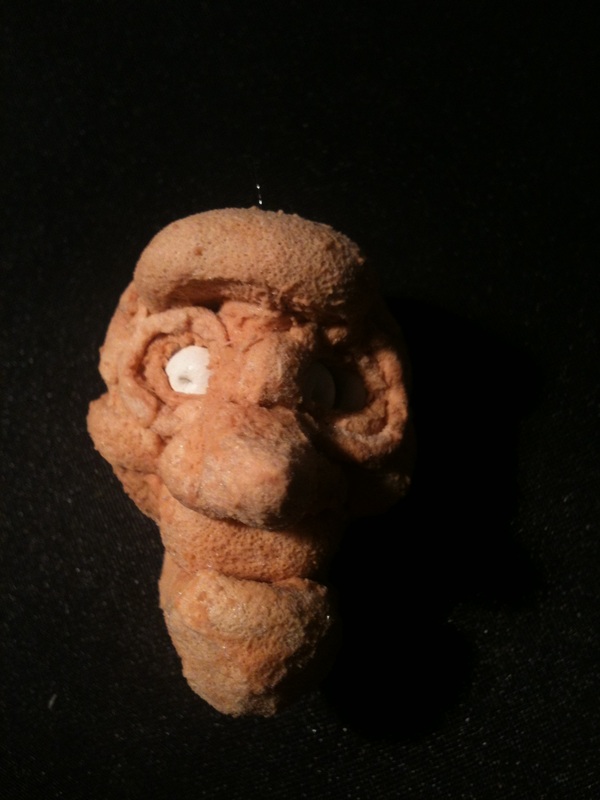
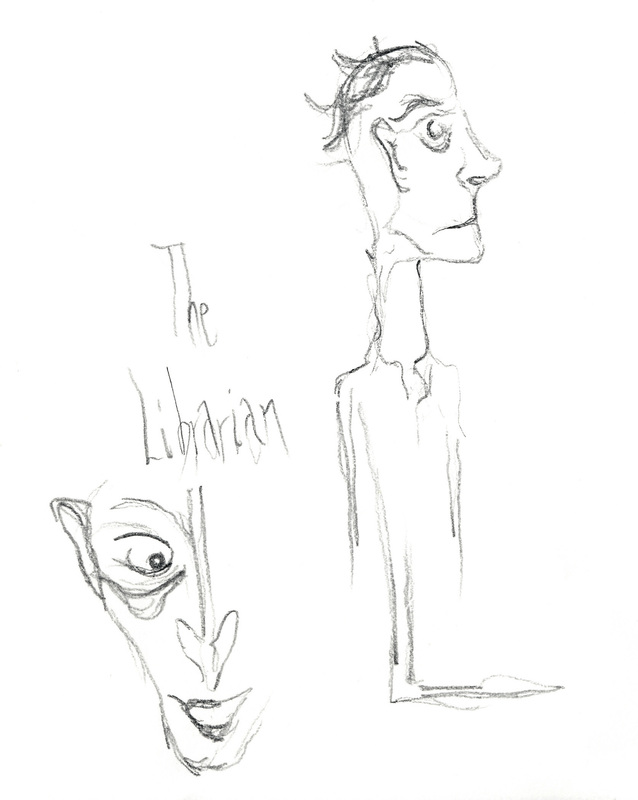
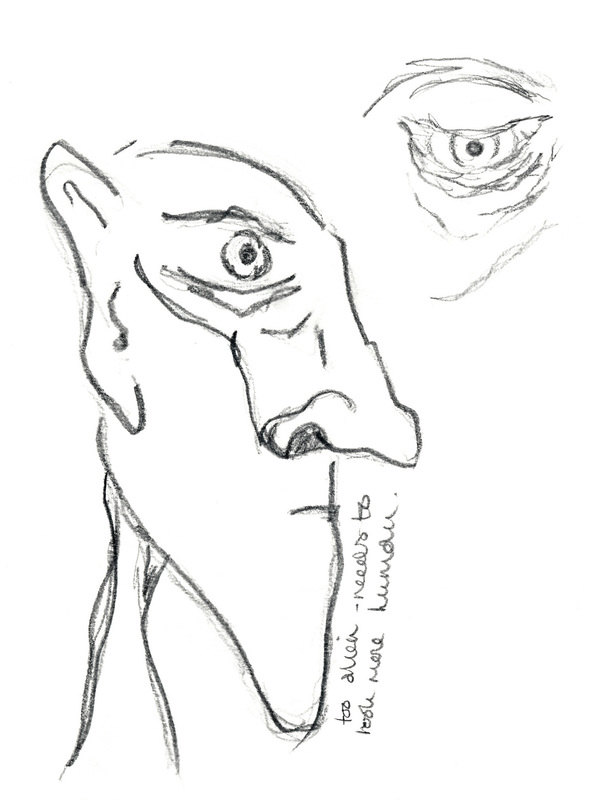
I wanted to be able to visualise the Librarians head shape in 3D as I have currently been working from the 2D image I had created of him. I have therefore made a 3D version out of sculpting clay. It was quite hard to translate from 2D and I'm not sure it works as well or is as visually appealing in 3D form, I definitely don't think it works too well from a straight forward point of view but at least I have a 3D form to work from now. Time to start experimenting with materials!
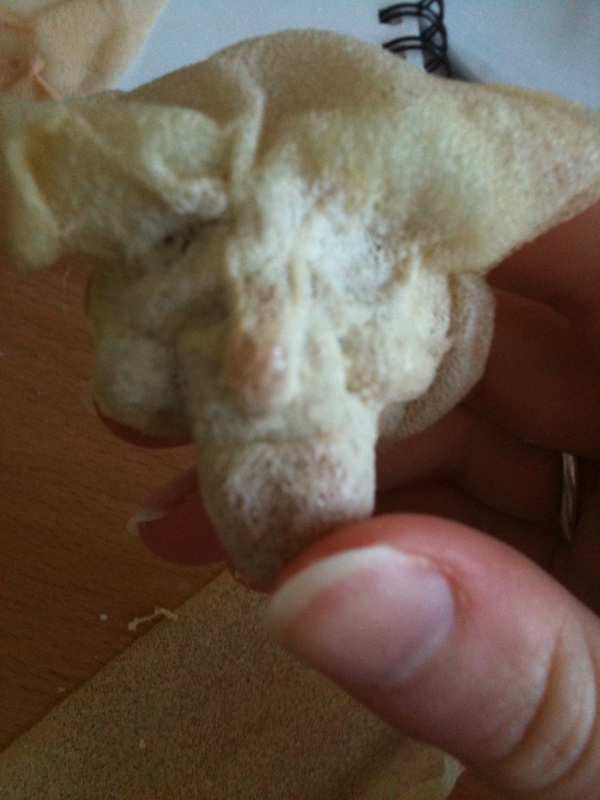
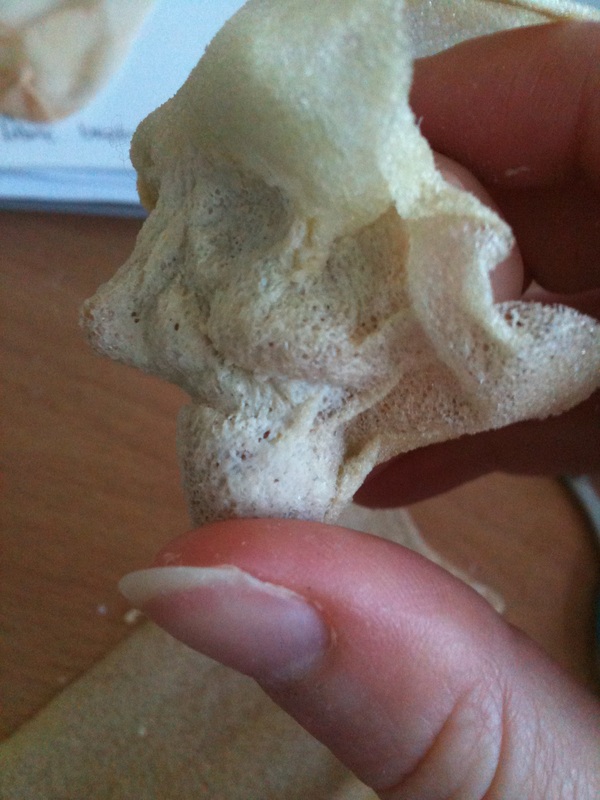
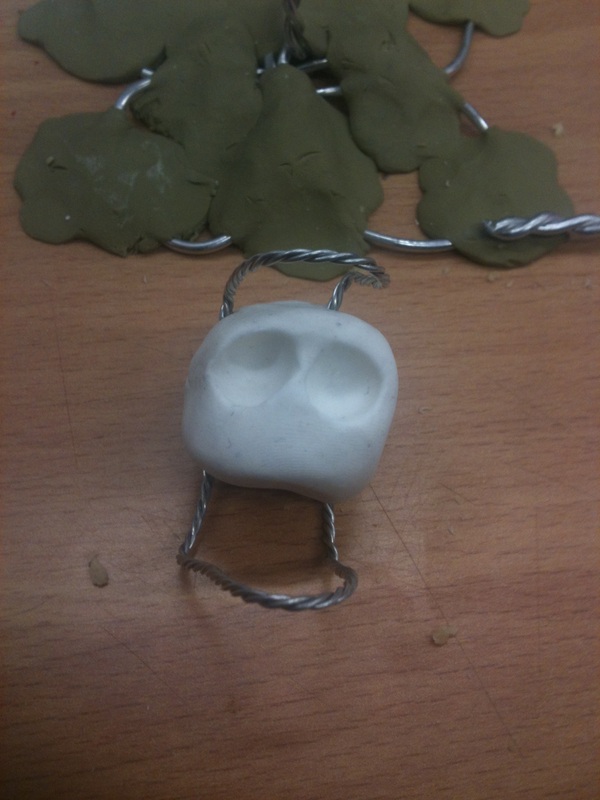
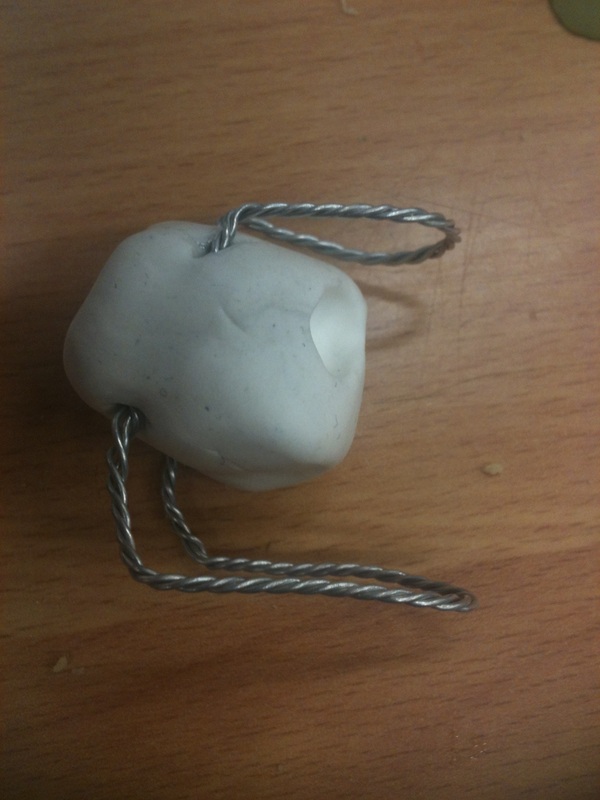
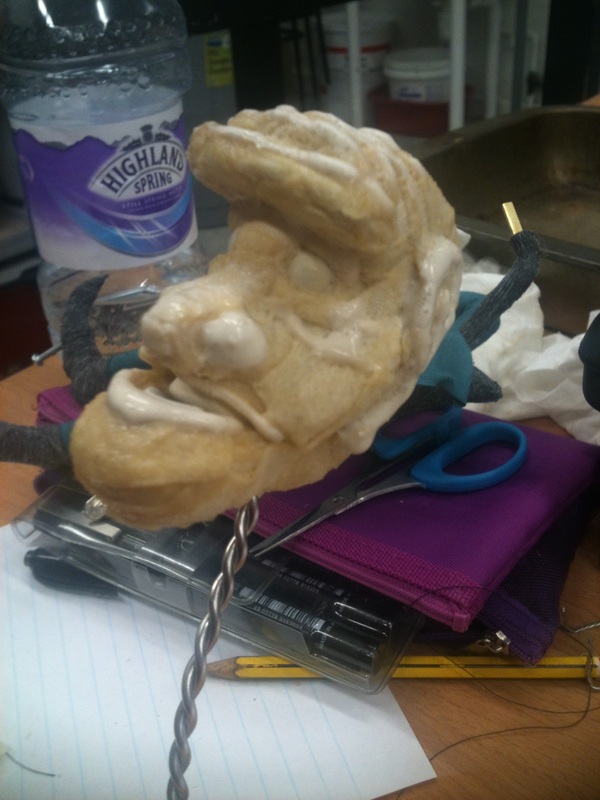
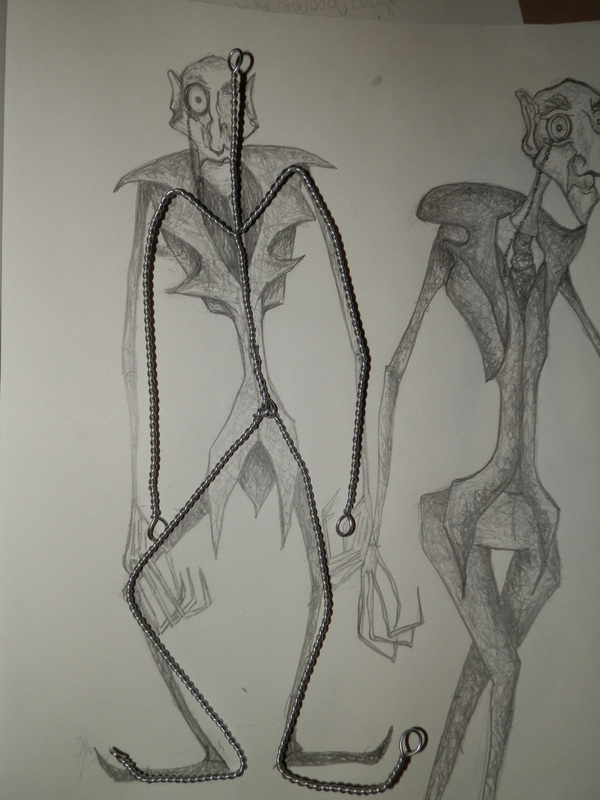
After making my prototype head armature in the workshop, I thought I would have a quick go at making one that was in an attempted style of my Librarian. This was handy as I got to have a go at making a VERY small head armature that would be around the size I would need to use in the actual final puppet. I had to admit this was a very rushed trial so the aesthetic quality isn't as much of a success as I would have hoped to achieve.
| |
However despite this fact I think I am coming to the realisation that in using foam and latex to create a moving head (brow and jaw) it is detracting from the look I am trying to achieve: angular and sharp. I need to explore other materials (but might give this another go in less rushed circumstance just to make sure)!
|
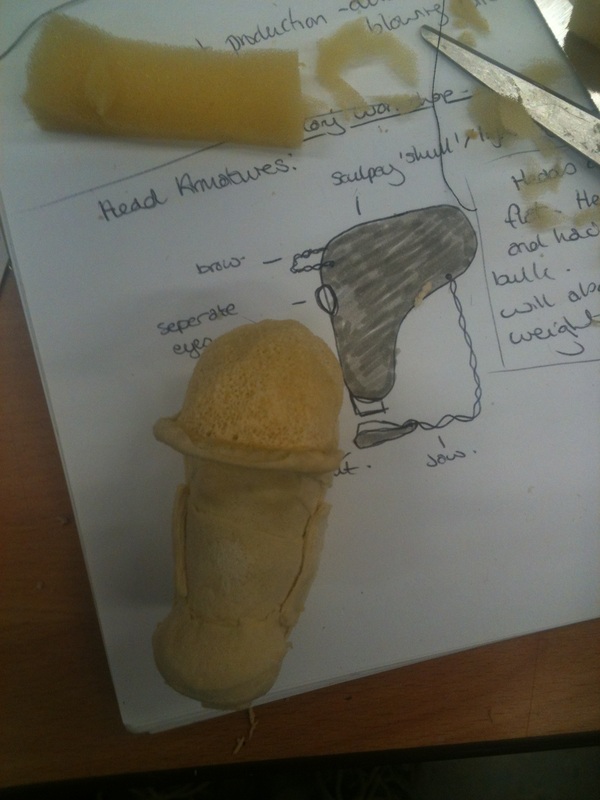
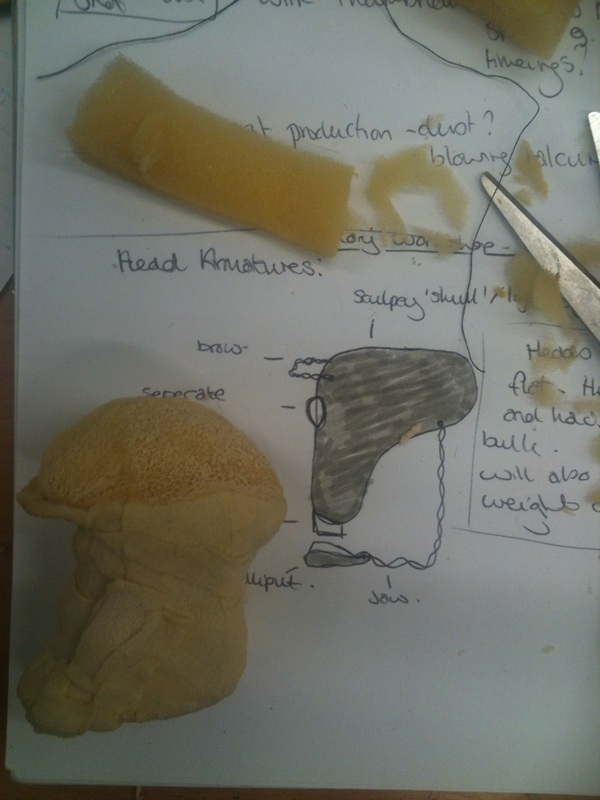
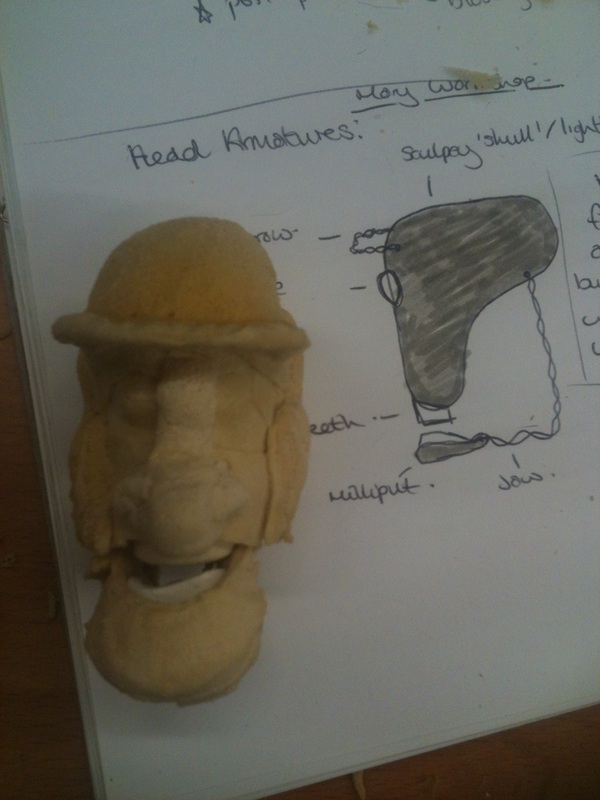
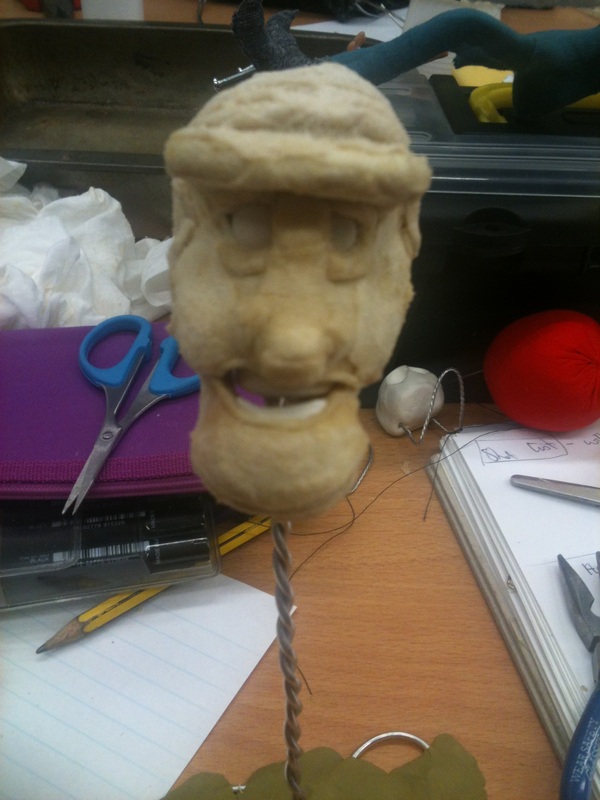
I have also attended another workshop to make a head with armature prototype. The design for this wasn't based on the Librarian, the idea was just to make a head in the time of the workshop so that we may apply it to our own character if we so wished. We were given a standard and basic lightweight head with a wire jaw and brow which we then built upon with foam and latex to create a face.
Here's how:
| Using fine foam dipped in latex, cover the armature and lightweight core with a single layer, including a whole piece of foam that covers the gap between the wire jaw and the 'skull' to create the 'flesh'.
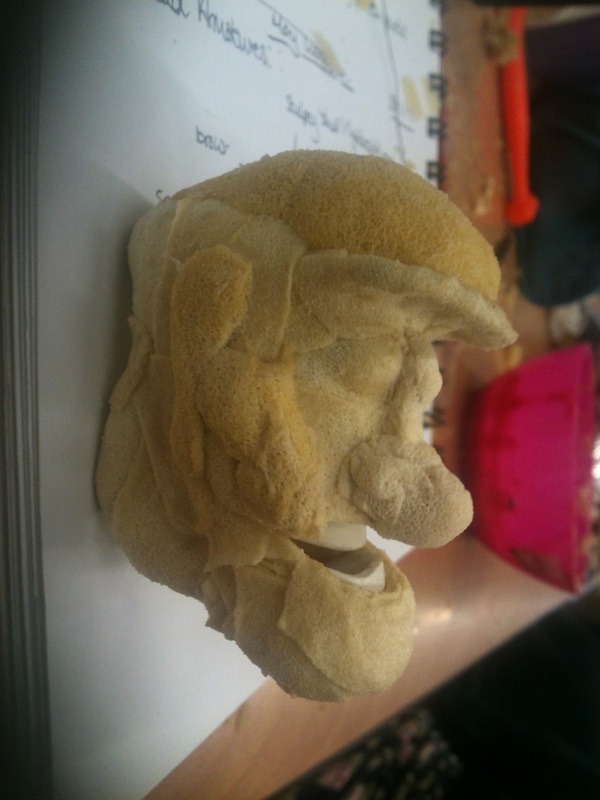
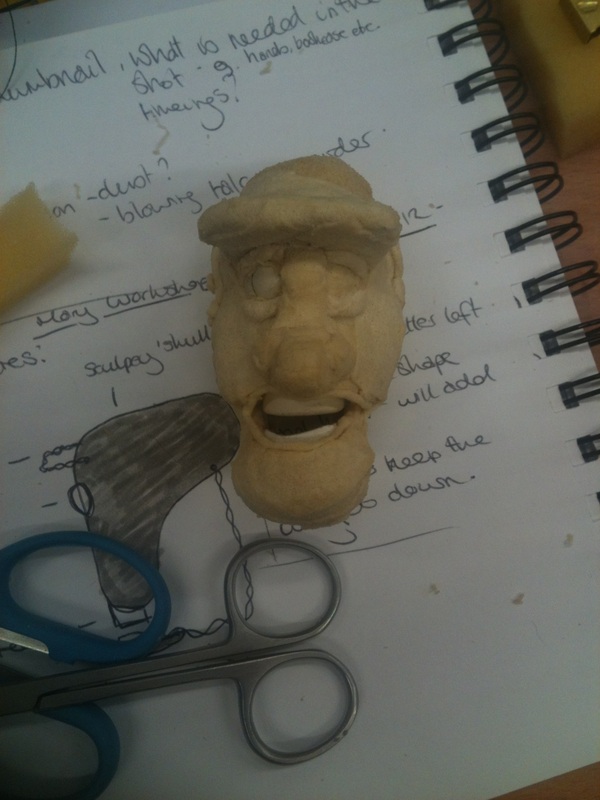
Add foam in bulk where needed, for example the cheeks, using fine scissors you can cut them into shape once the latex has set.
Adding more layers to create facial shape.
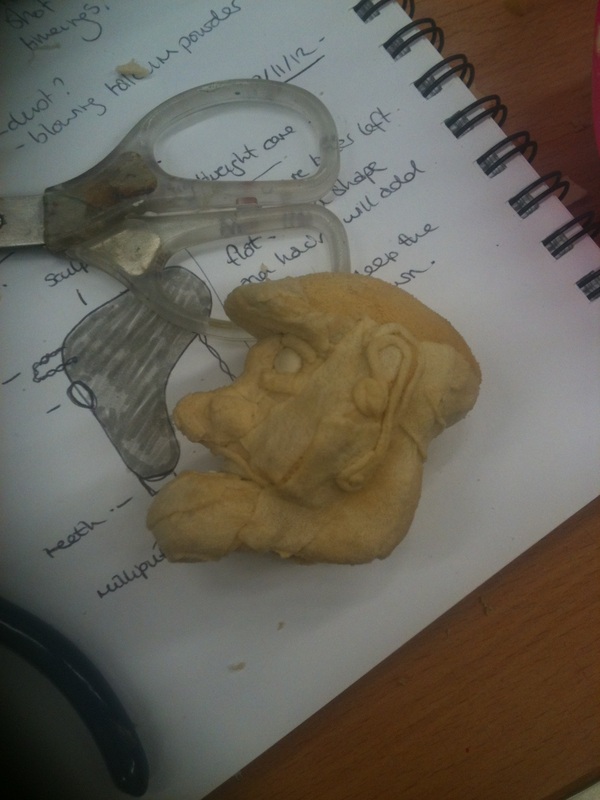
Using fine bits of foam rolled into strips I have created detailing on each side of the head to look like the ears.
Basic facial shape in place.
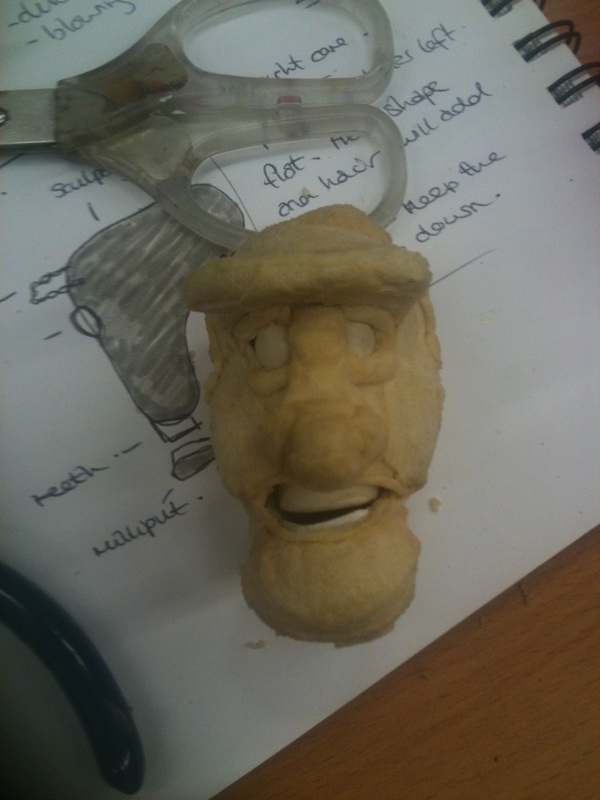
| Once everything has been covered, including the eyes and the teeth, using a thicker piece of foam glue this to the top flat area of the head in a square block. Once the glue has set you can then shape the foam to look like a skull.
Cut a slit where the mouth should be to reveal the teeeth and then shape in a mouth.
Cut away the foam covering the eyes.
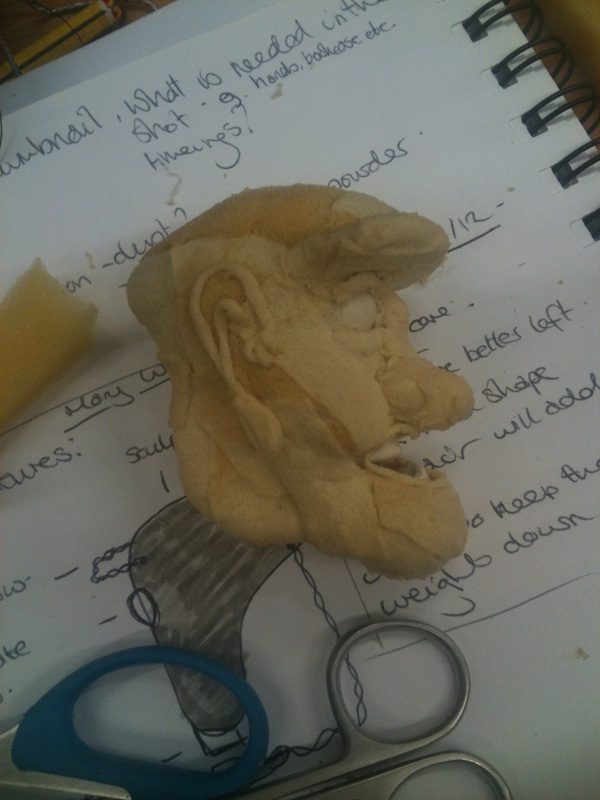
Ear detail.
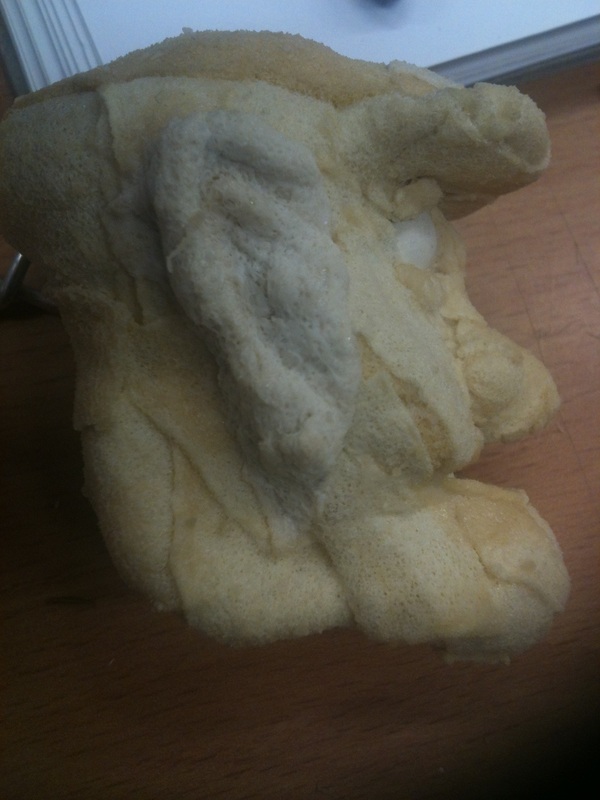
Layer of fine foam onto of ear detail to create the appearance of the ear jutting out of the side of the head.
|
The finishing touches: using a coctail stick I applied latex straight onto the head in areas that needed building up further.
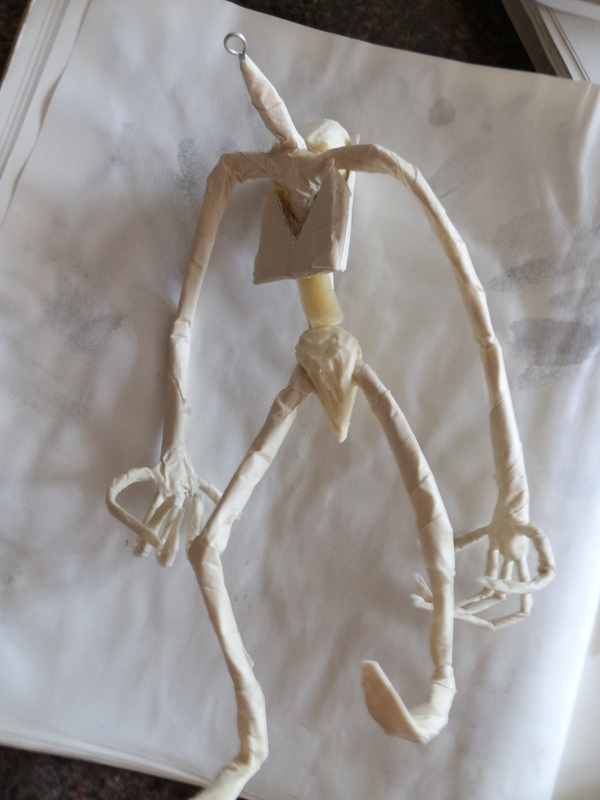
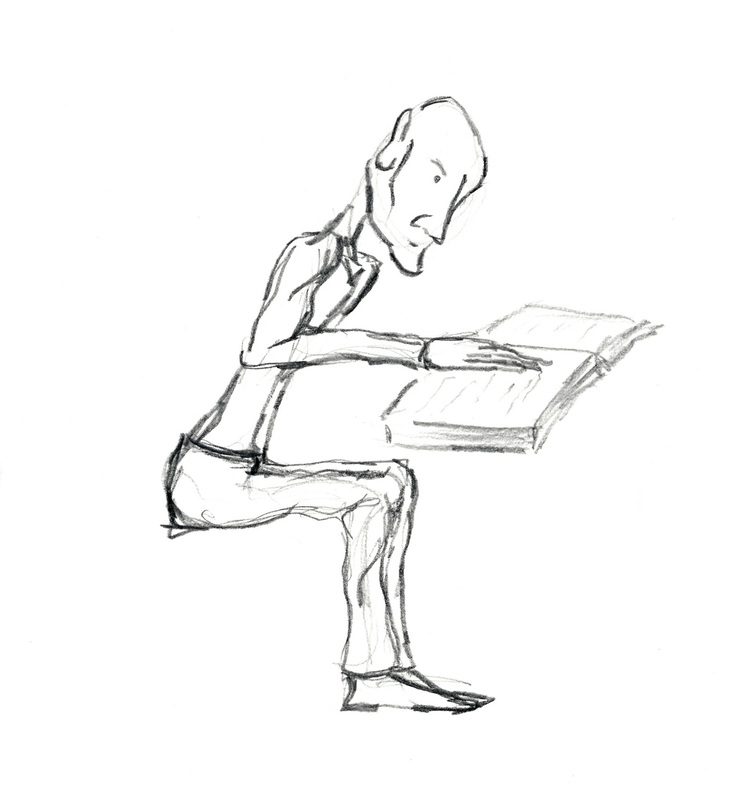
I have started to transfer my designs into 3D. I want to get the body shape sorted primarily so that I can then focus on his aesthetic qualities.
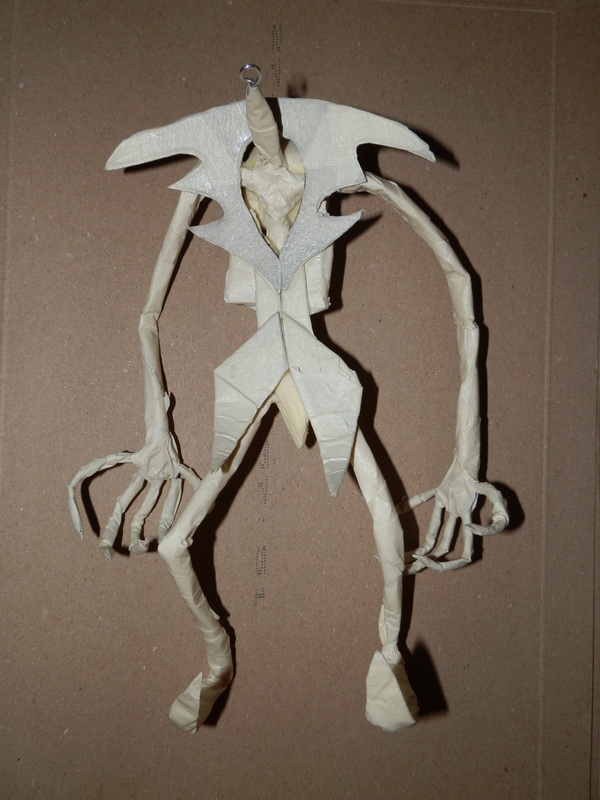
The simplist way that I could test these ideas were with cheap wire, masking tape, cardboard and foam. I started with his frame under the bulk imagining how it would be made when building the puppets armature. Once I had his initial frame I then started to build ontop with his outfit. This is something that proved quite difficult and I will need to think how this will sit stable on the final puppet ontop of such a small body frame whilst being hollow to show his neck.
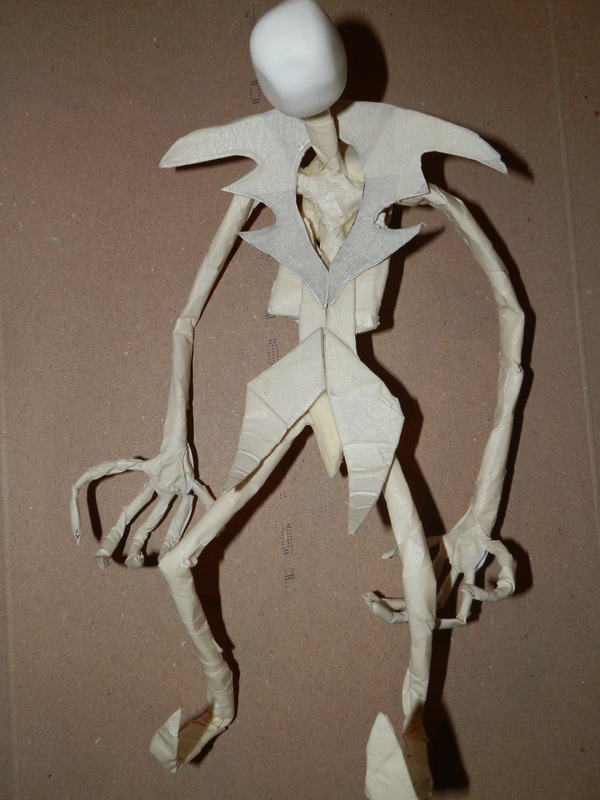
As soon as I had put the outfit on I realised that his body shape would have to change as having shoulders in the 'normal' position means that they are visible underneath his clothes. If I were to start them lower down they may be able to be hidden underneath his clothes.
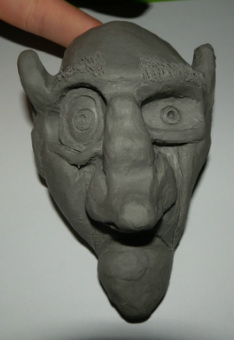
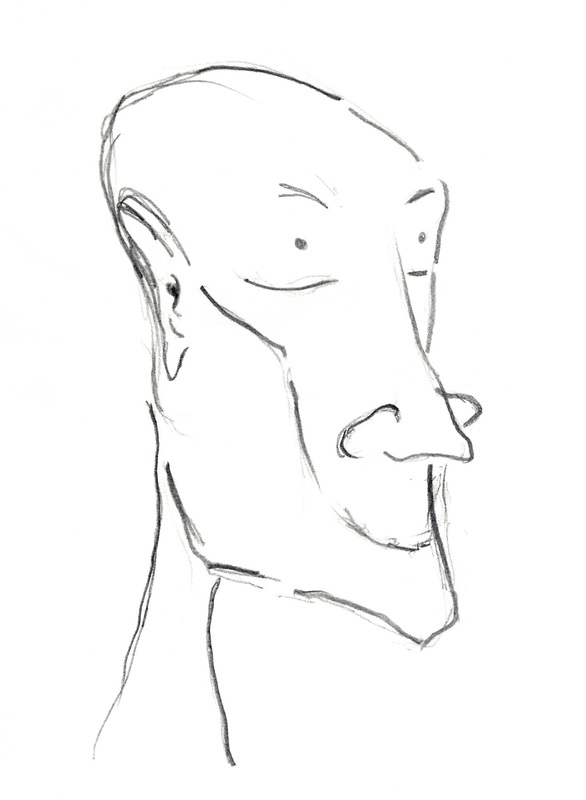
| | I thought I would have a go at sculpting the head out of sculpey so that I had a fully formed marquette so show in an upcoming presentation.
|


 RSS Feed